Email Setup
Overview
In this article, you will find the how-to guide to configure your email settings. Apporetum can send emails to both internal and external accounts through the utilisation of either Microsoft Graph or a self-hosted SMTP Server Email Services. The preferred way is using Microsoft Graph. After setting it up, you can send test email.
- If you are a System Admin, or Global Admin, you will be able to view and edit email settings.
- If you are a Global Reader, you will be able to view email settings.
You need to set up email settings before configuring email templates.
Navigate to Email Settings
You will need a Microsoft365 account with a basic or exchange license to be able to use Microsoft Graph. Using Microsoft Graph is preferred. SMTP can be a legacy solution if you don't have Microsoft account.
- Click Settings main menu button
- Under Notifications (category tab), click Email Setup
- View the current email service settings.
Edit Email Service Settings
- Click the Edit button at the top right of this page
 2. Select Graph or SMTP under Email Service Type

- Graph-Microsoft Graph permissions; you will need to have a mailbox set up at Microsoft to continue the rest of actions.
- SMTP-Simple Mail Transfer Protocol. Refer to the relevant mail server for more information.
Microsoft Graph is the preferred way to set up email service, because it is the native integration to Azure.
Using Microsoft Graph - Preferred Way
- (mandatory) fill in Authentication - Azure AD User's Object, Mailbox

-
The supplied mailbox user must have 'Send as' or 'Send on behalf' permissions on the supplied Mailbox.
-
You may need to set up a shared mailbox with the Microsoft license. For mailbox assistance, you can contact the mail adminstrator within your company/organisation.
You can also refer to Microsoft help documentation for more information.
-
Send as permission- https://learn.microsoft.com/en-us/microsoft-365/admin/add-users/give-mailbox-permissions-to-another-user?view=o365-worldwide#send-email-from-another-users-mailbox
-
Send on behalf permission-https://learn.microsoft.com/en-us/microsoft-365/admin/add-users/give-mailbox-permissions-to-another-user?view=o365-worldwide#send-email-on-behalf-of-another-user
- (mandatory) set up Reply- Reply To Address; Reply To Name

Reply To Address can be the same address as Mailbox
- Click Save Changes
Using SMTP- Alternative Way
Only if you don't have a Microsoft account, you can use SMTP as a legacy solution.
- fill in the Connection section
- (mandatory) Server Name, (mandatory) Port

- fill in the Authentication section
- (mandatory) Username, (optional) Password

- fill in the Send From section
- (mandatory) Address and Display Name

- fill in the Reply section
- (mandatory) Reply To Address and Display Name
- Reply To > Reply To Address can be the same address as Send From > Address.
- Reply To > Display Name can be the same name as Send From > Display Name.

- Click Save Changes
Send Test Email
- Navigate to Email Settings
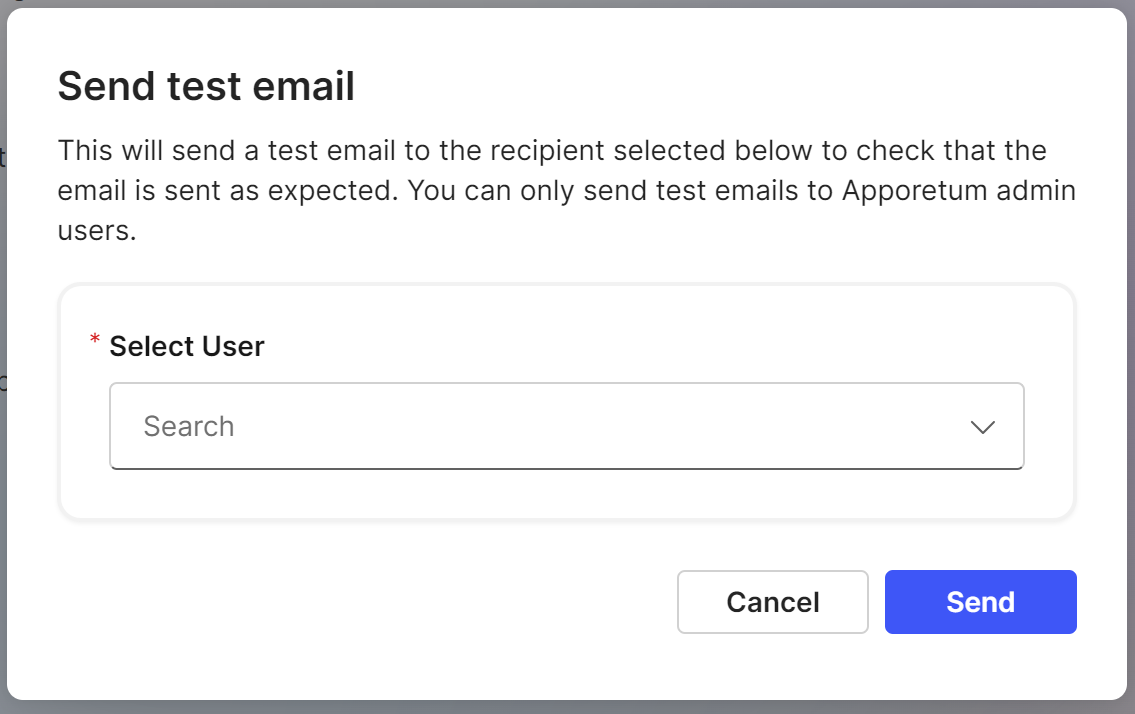
- Click the Send Test Email button on the top right of the page

- Search for the user that you want to send the test email to

Only your admin user addresses will appear in the search results.
- Click the Send button