CSV Import Roles
Overview
Role guardrails have been designed and applied in this process to strengthen the access management within your organisation or business.
In this article, you will learn how to configure app roles if the data source is CSV. The configuration approach is different in apps that use data sources that are Entra ID (formerly Azure Active Directory) and on-premises Active Directory. You will need to be a system admin in Apporetum to do role configuration.
We recommend you import the CSV file to Apporetum, and set up rules of Match Users, Map Roles, and Guardrails. Then you can go to the Roles tab to edit/update each role's settings if needed.
Navigate to Role Configuration
- Click Access main navigation menu option
- Search/find and click the app
- Click the three-dot icon located on the top right of the page
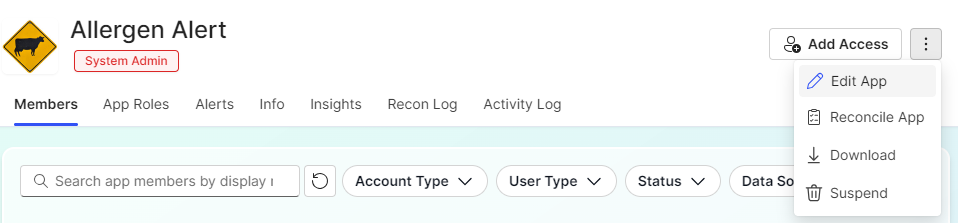
- On the drop-down menu, choose Edit App
- By default, you will land on the Config page
Import Roles
- Navigate to role configuration
- Click the Import tab
When you prepare your CSV file, click Upload File then click Download Template to access the guide. We highly recommend you use the template to help you format your data and import it to Apporetum successfully.
Here are the three processes:
Upload File
You need to upload your CSV file to be able to continue the rest of role configuration processes.
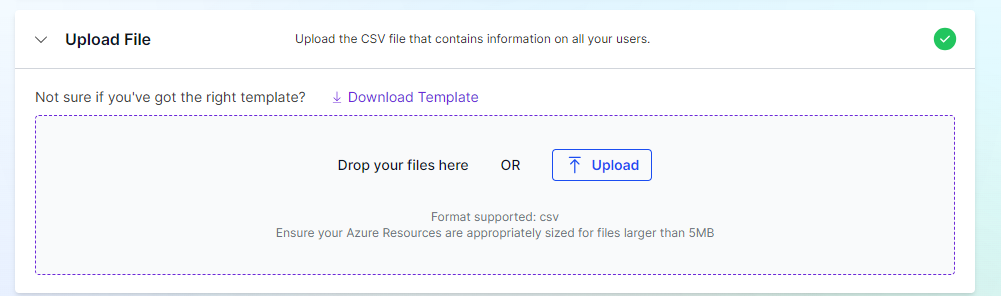
- Format supported: CSV
- Ensure your Azure Resources are appropriately sized for files larger than 5MB
Match Users
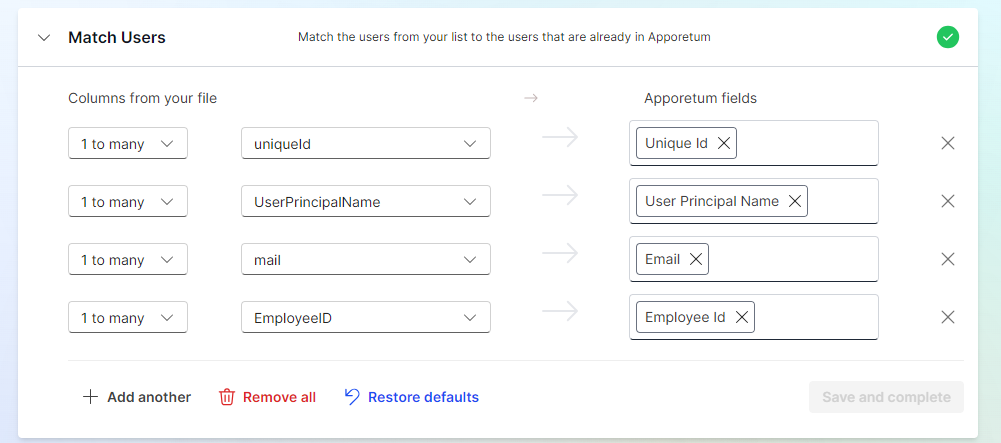
- Choose Matching Type : 1 To Many or Many to 1
- Choose the best fit for your data
- 1 To Many means that you can choose only one option in Columns from your file, and one or more needed from Apporetum fields
- Many to 1 means that you can choose one or more you need from Columns from your file, and only one option from Apporetum fields
- Click the drop-down menu and select from Columns from your file
- Click the drop-down menu and select from Apporetum fields
- There are a few options depending on your needs:
- Click + Add another to add one more mapping
- Click Remove all to remove all the current mapping
- Click Restore defaults to reset all current mappings to initially auto mapped field
- Click the cross on each row, click X to remove that single mapping
- Click Save and complete
Map Roles
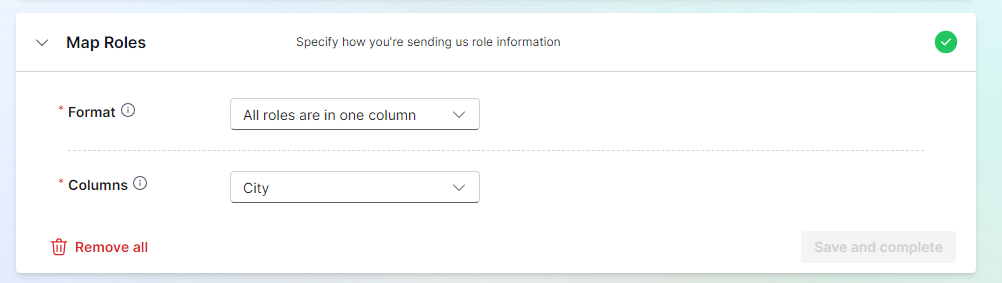
- Under Format, choose from Each Role Is In A Seperate Column or All Roles Are In One Column
When you format your data before importing it, we recommend you download templates as a guide. You will then choose the correlated format here, based on which template you use. ::: 2. Under Columns, choose the columns from your CSV file that contain role information
-
If needed, click Remove all at the bottom of this section
-
Click Save and complete
Setup Guardrails
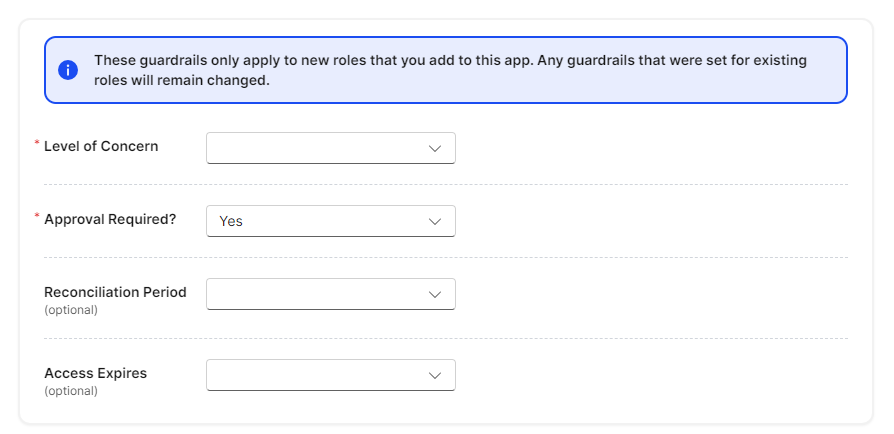
- Choose from Low or High at Level of Concern
- The more privileges a role has, the higher the level of concern should be.
- We recommend you analyse how you would set up default guardrails. The purpose is to minimise the work that you need to do to change the level of concern for roles individually.
- A possible way to avoid security concerns is to set the level of concern as low, if you know which individual roles to set as high.
-
Choose from No or Yes at Approval Required?
-
(optional) Choose from a timeframe at Reconciliation Period
-
(optional) Choose from a timeframe at Access Expires
-
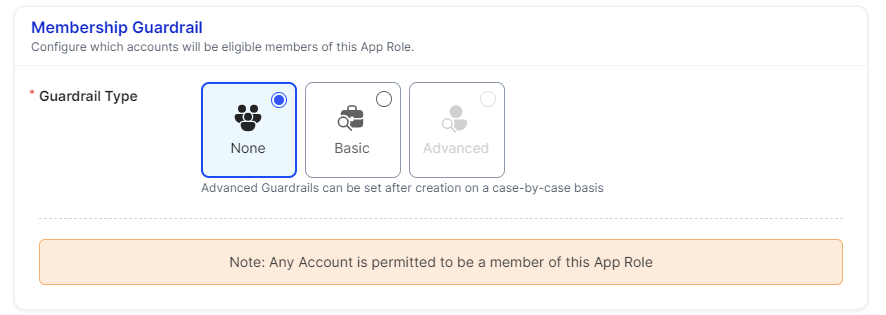
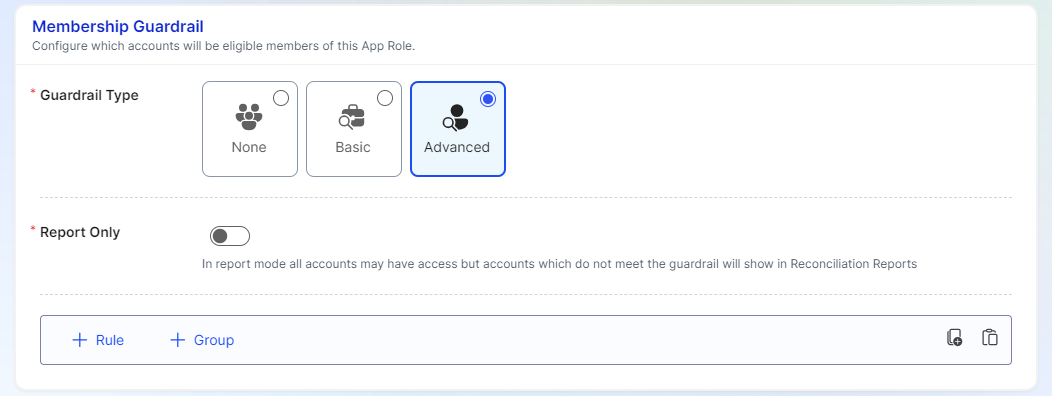
Select Guardrail Type
You will be able to set up Guardrail Type as Advanced, once you finish import roles then go to Roles tab/page to update the role's guardrail rules individually.
-
you can choose None
-
you can choose Basic, then decide if Report Only, then select Internal Accounts, External Accounts, or Trusted External Accounts.
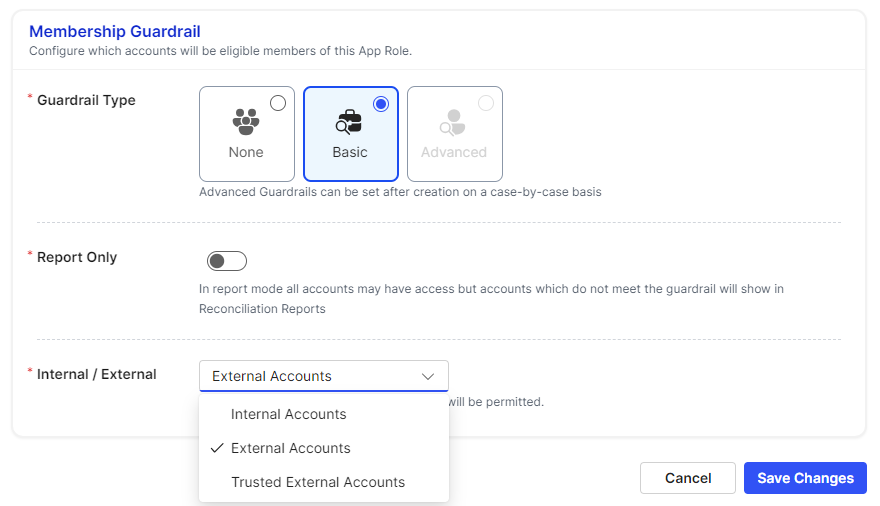
Internal Accounts: selecting this option will only allow people within the organisation to be invited to this role.
External Accounts: selecting this option will allow people outside the organisation to be invited to this role. You can specify which trusted parties.
Trusted External Accounts: selecting this option will allow people from trusted parties to be invited to this role. You can specify which trusted parties.
- if you choose Trusted External Accounts, you will have to select Trusted Parties.

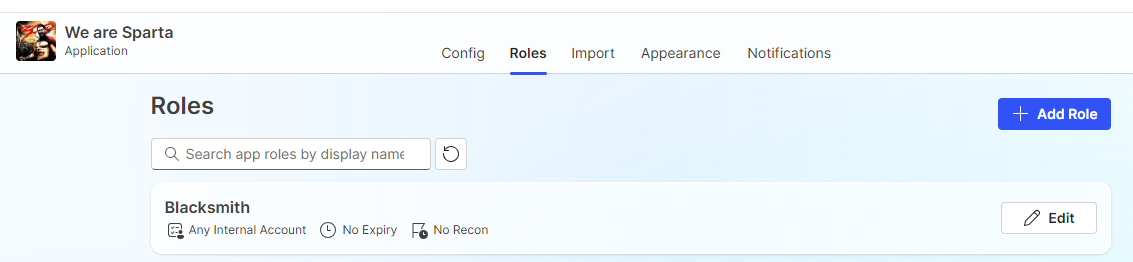
Update Role Configurations
We recommend you import roles then update individual role configurations.
-
Click the Roles tab
-
Click the Edit button
-
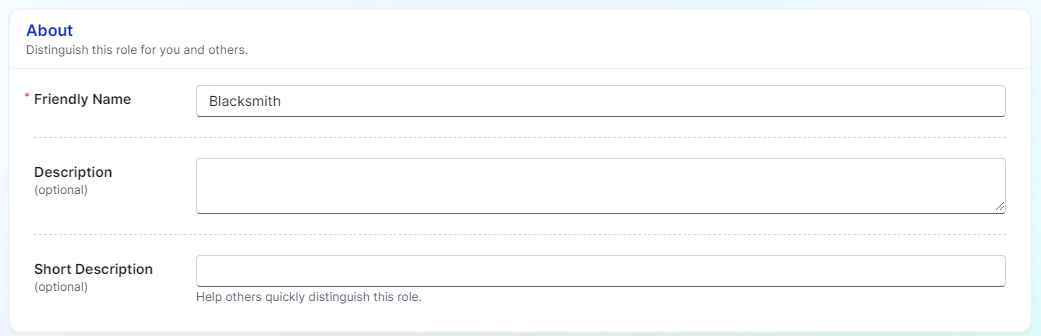
Update About
-
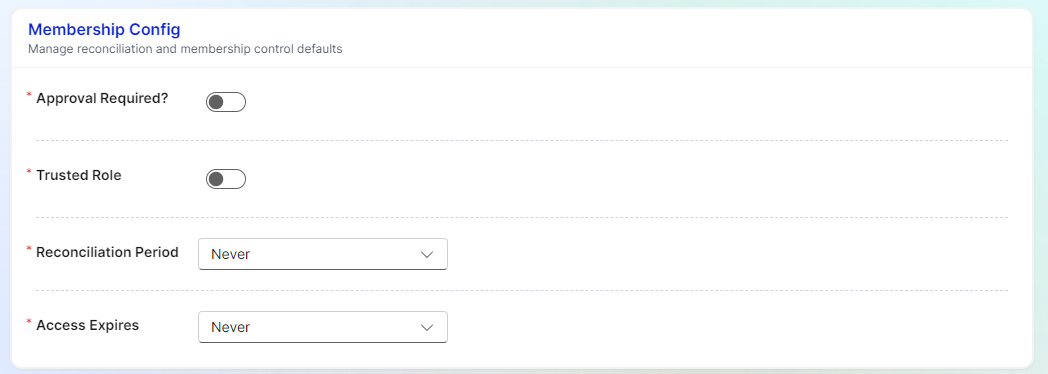
Update Membership Config
-
Update Membership Guardrail
 info
infoYou will be able to update it to Advanced Guardrail Type and set up the rule matrix.
Create New Role
-
Fill in About section - Friendly Name, Explanation, Short Description
-
Fill in Backing App Role section
-
Fill in Directory Backing section - Create or Adopt
-
Fill in Membership Config section - Approval Required?, Trusted Role, Reconciliation Period, Access Expires
-
Fill in Membership Guardrail section
-
Click Save Changes
If role configuration is not successful, please contact system admin for further assistance.